How to Use Canva for Digital Signage
WRITTEN BY: TelemetryTV, 12-10-2019
At this point, it’s common sense that digital signage is an effective tool for businesses to reap huge benefits. The widespread adoption of digital signage across numerous industries speaks for itself.
But implementing a network of screens to boost your business is only one part of the equation. By itself, it won’t go very far. In order to harness the potential of your digital displays, you also need highly engaging and visually-appealing content.
In the past, the need for creating high-quality content used to place a huge burden on companies looking to get the most out of their digital signs. Put simply, they didn’t have the staff with the skills or the extra cash to hire third-party content creators.
Thankfully though, now there are dozens of easy-to-use graphic design tools that make it possible for anyone to create professional-looking content for digital signage. One of the best on the market is without a doubt Canva—and it’s free.
What is Canva?
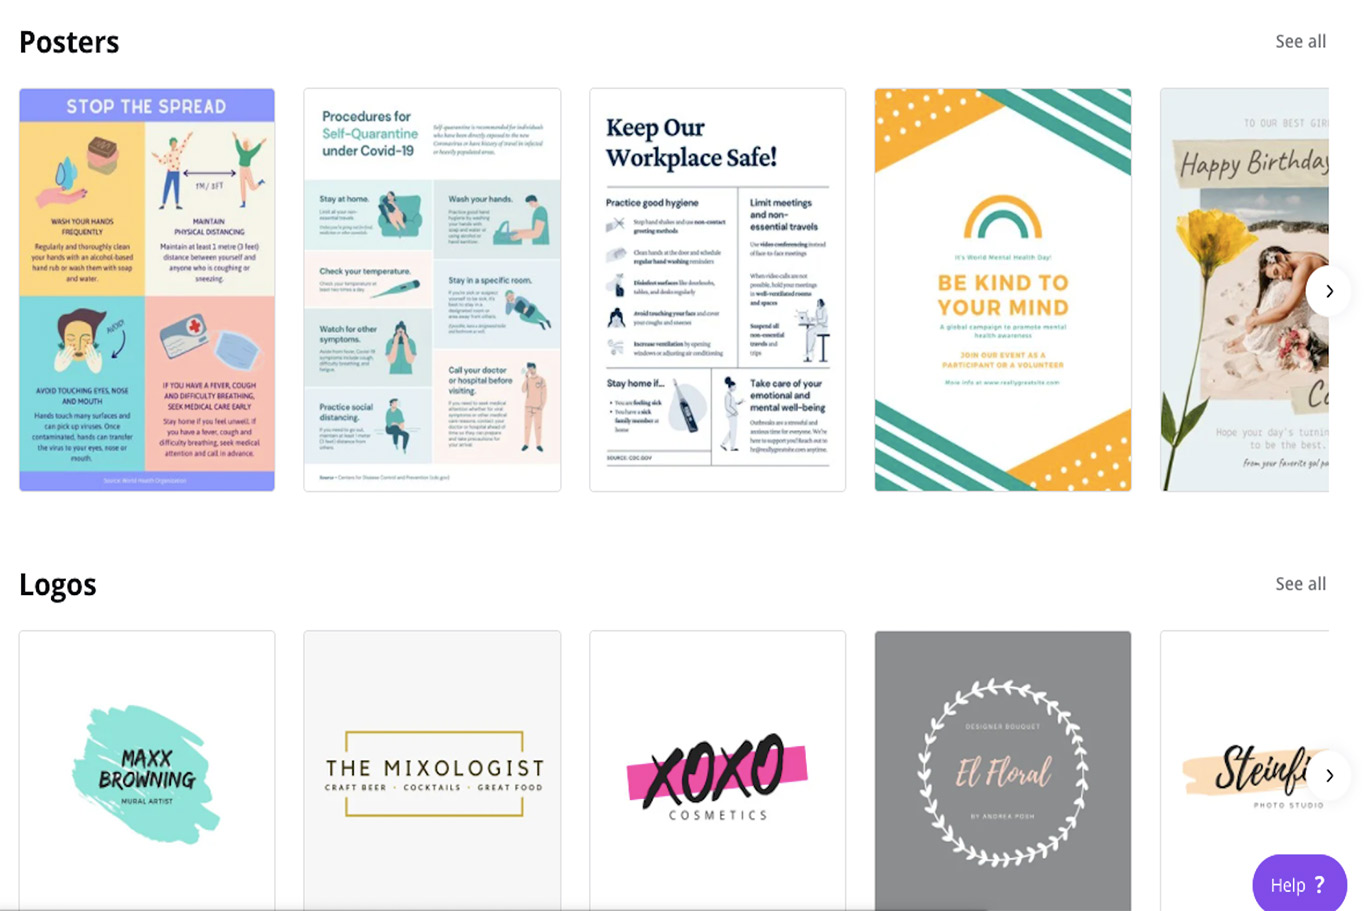
Canva is an online, all-in-one graphic design tool that lets users create content using an intuitive drag-and-drop interface. On top of that, Canva has thousands of stock photos, vectors, fonts, graphics, and other design assets for designers to use.
Basically, Canva streamlines the graphic design process so anyone can do it relatively quickly and easily.

Reasons to love Canva for digital signage
Canva was built as a general solution to graphic design but the tool really shines when it comes to digital signage specifically. The reason being that there are a lot of things to love about it when it comes to creating digital signage content.
Here are the things we like most about Canva for digital signage:
- Lots of ready-to-use templates
- Can be used by anyone—unlike professional tools like Photoshop
- Generous free tier with access to tons of design assets
- Paid plans are reasonably priced
- Easy formatting for your screen size and resolution
Leverage Your Screens To The Max
TelemetryTV is the only digital signage software you need to drive engagement, productivity and revenue for your business.
Learn MoreExamples of slides you can design in Canva


The design process in Canva is extremely user-friendly. To get started creating content for your digital signage, all you need to do is sign up for a free account.
1. Define your goal and audience
Once you’ve done that, you can start creating. Like any good digital signage content, you’ll want to come up with a game plan that takes into account your audience’s needs and desires as well as your overall goals—whether it be giving them vital information or simply running an advertisement for a local business.
2. Add a stock or custom background
After you’ve nailed that part, jump right into Canva and start designing your signage content. In Canva, you’ll start by choosing a background image. Canva has thousands to choose from which are easily searchable. You can also upload your own if need be as well as add filters or play with the image’s settings until you have the look and feel you’re shooting for.
3. Add text (and other images or graphics)
Next, you’ll want to add your message or copy on top of the background. With Canva, it’s super easy to do thanks to a wide variety of pre-made, professional text formats. Then customize your text however you want it, from font type and size to color and spacing.
Finally, add any other graphics, images, vectors, or other design elements to make your digital signage content pop. Just make sure it’s clean, crisp, and to-the-point.
4. Download your Canva creation
Once you’re all finished up with the design, simply click the download button, and voila! Your new digital signage content will be saved to your desktop.
How to use Canva for digital signage with TelemetryTV
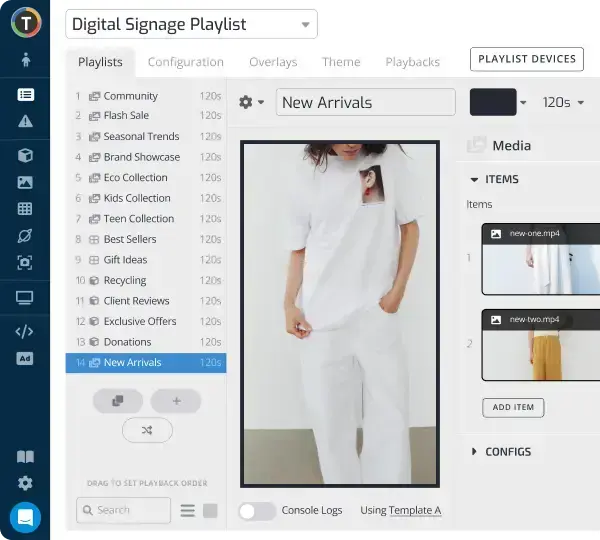
One of the best things about TelemetryTV’s cloud-based digital signage solution is that it comes with a built-in Canva integration. That means TelemetryTV users can create Canva slides directly in their digital signage playlist editor. And in the process, they’ll save a huge amount of time and allow for on-the-fly content deployment.
Using Canva for your TelemetryTV is simple and fast. Here’s how:
1. Start both a free Canva and TelemetryTV account
In order to use TelemetryTV’s Canva integration, you’ll need to start an account for each. If you don’t already have a TelemetryTV account, get started with a free trial.
If you don't have a Canva account, you will be prompted to create one when you first access Canva inside TelemetryTV. You can access Canva from the playlist editor in TelemetryTV, as we mentioned before, or in the media repository.
2. Connect your screens
Obviously, the next step is to get your network of digital displays up and running.
3. Create a playlist
Making a new playlist is super simple in TelemetryTV, just head over to the playlist editor and click the tab to create a new playlist.
Once that’s completed, you can either create new Canva slides for your digital signage directly inside the TelemetryTV app or you can do it on the Canva site. If you do it on Canva’s site, you’ll need to import your new graphics into your playlist.
4. Schedule your content
When you have a playlist of flashy digital signage graphics created using Canva, now is the time to deploy them on your screens. With TelemetryTV’s intuitive scheduling function for playlists, you can deploy content to your individual screens with ease.
Using Canva for digital signage is by far one of the easiest ways to get content out to your screens without spending a lot of time, money, and effort. Not only is it free, it’s super intuitive and comes with a lot of useful features.
If you want the power of cloud-based digital signage and Canva at your fingertips, the best of both worlds, sign up for Telemetry TV today to access a 14-day free trial.
